New WordPress Toolkit 2.0 In Plesk Onyx
As I mentioned in another post we have just completed Plesk Onyx (17.5) upgrades on our entire fleet of Plesk powered servers. In that post I went through some of the great new end-user focused features and tools that came along with this upgrade. I touched on the WordPress Toolkit 2.0 just briefly because to go into in depth required a whole post dedicated to the subject. That is how powerful this new feature set is! And from what I hear at Plesk this is just the beginning. I am so impressed with this new direction that Plesk is taking that I have decided to refocus our brand on Plesk just as it was in the early years.
With this new WordPress Toolkit 2.0 users can do all the things that they are used to like logging into the WordPress Dashboard from Plesk, managing passwords and databases. But now there is a suite of dazzling new features that takes WordPress management to a whole new level. You can now deploy staging environments with a few clicks and once you are done modifying and testing you can sync back your files and/or your database with another few clicks.
And that’s not all. There is a new Security Audit feature that secures your overall WordPress environment by setting the correct permissions on files and folders – among over things. There is a powerful new Importer so you can migrate WordPress instances into Plesk from externally hosted domains. Plesk has also implemented a clearer Automatic Update policy, Site Indexing, Password Protecting and Advanced Debug Management. And to top it all off, if you are a reseller or a VPS/Server owner you can access all your clients’ WordPress installations in one easy to use interface.
How To Set Up A Staging Site in Plesk With WordPress Toolkit 2.0
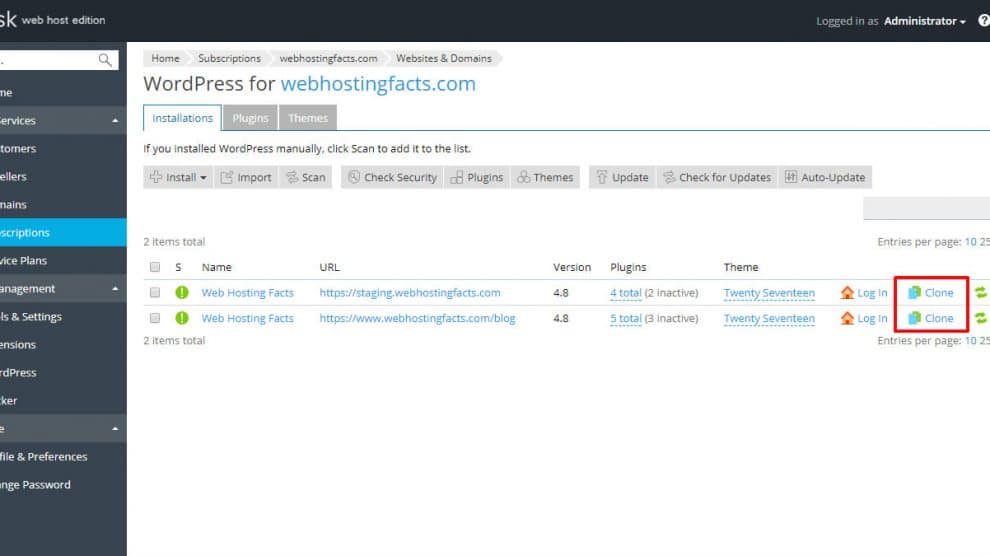
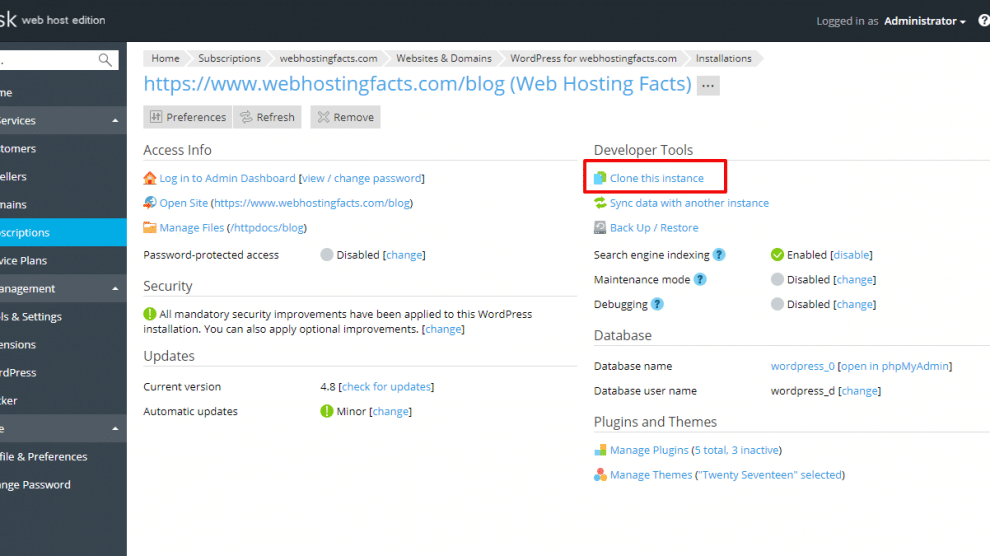
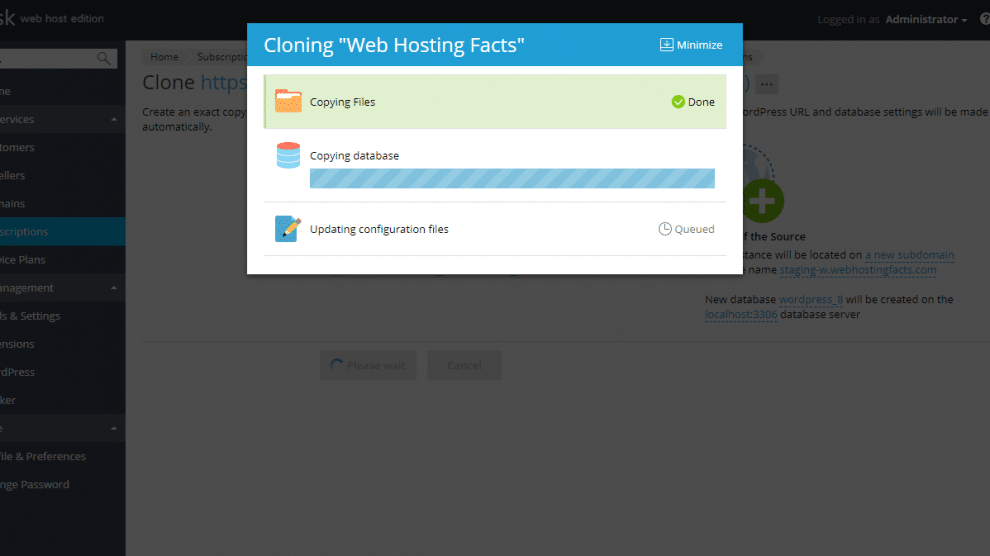
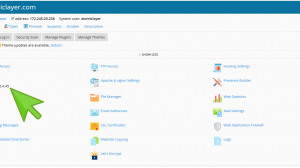
Navigate to your domain in Plesk and click into your WordPress installation. You can either navigate to it directly or click on “WordPress” on the right-side panel to access all your WP installations on this one domain. From there you’ll easily see “Clone”.
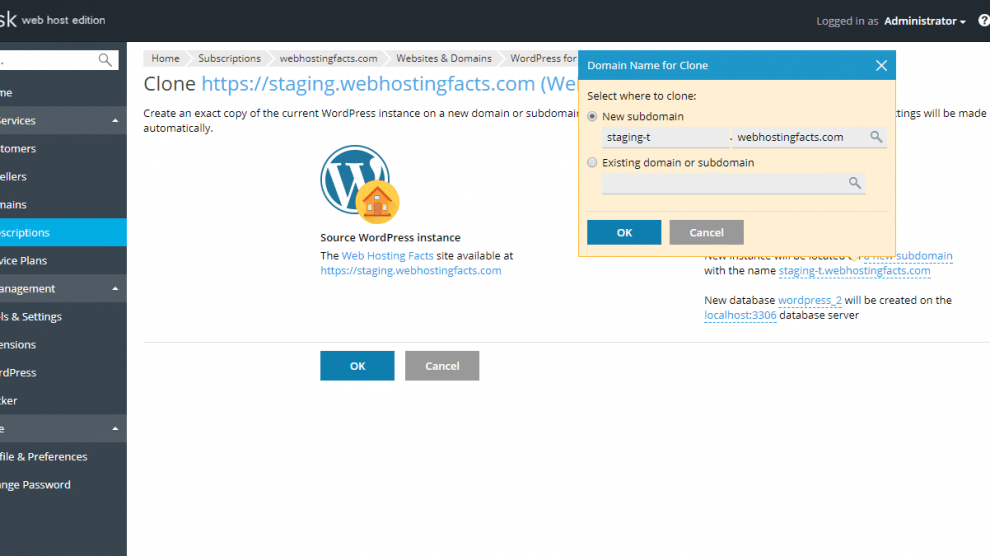
The cloning process will copy all the files and the database and make all the necessary changes in wp-config.php. If you are cloning to a new staging subdomain one will be created for you. Or you can specify a location manually for an existing subdomain, add-on domain or subscription.
Data Synchronisation
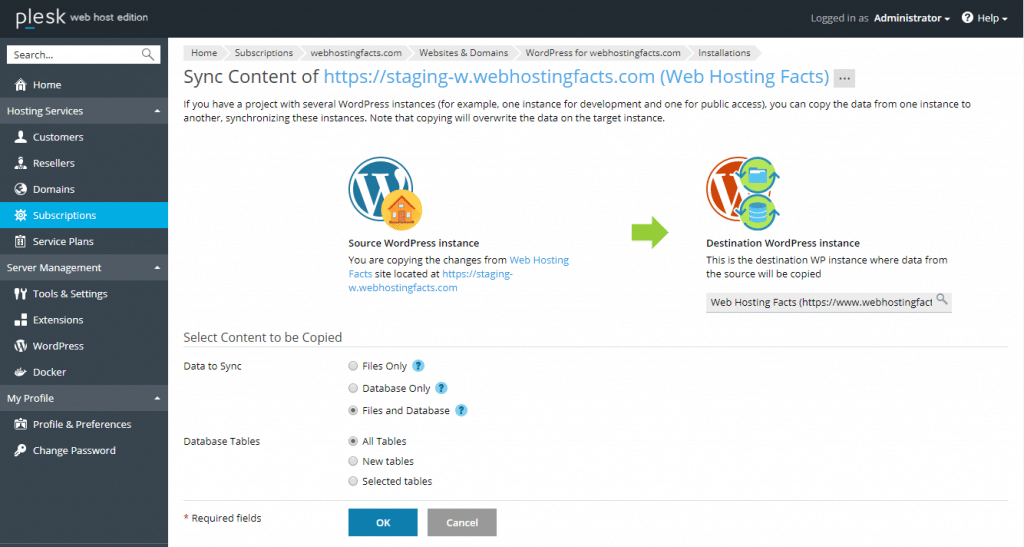
So now you’ve created your staging environment and you have modified your theme or installed a complex new plugin. Now you are ready to push your changes to your live site. Again, this used to be an arduous process but now we just have to click “Sync” in Plesk and let the Toolkit do all the heavy lifting for us. If you have multiple instances of WordPress you can specify which location to sync to. You can choose to sync Files Only, Database Only or Files and Database. You can even specify which tables to copy.
Import WordPress Instances From Your Externally Hosted Domains
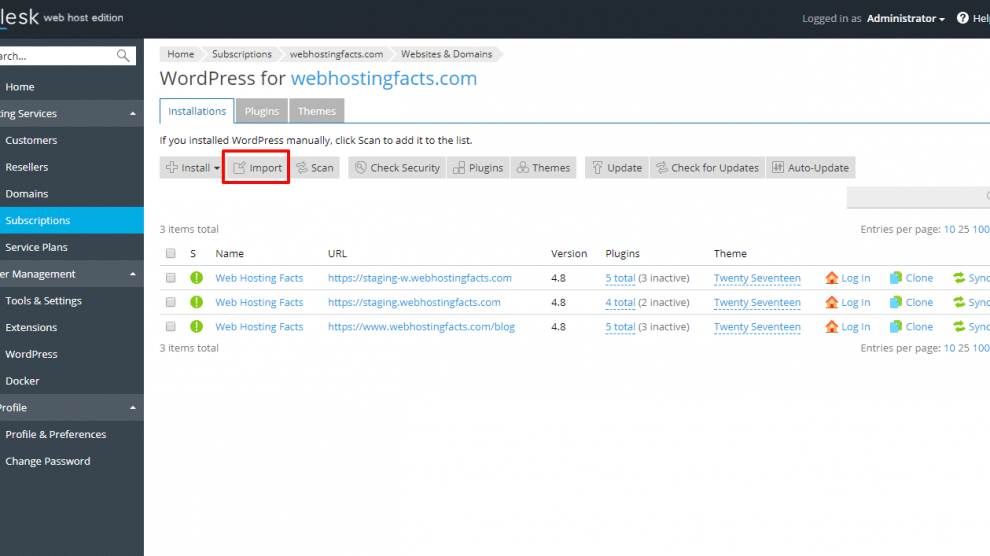
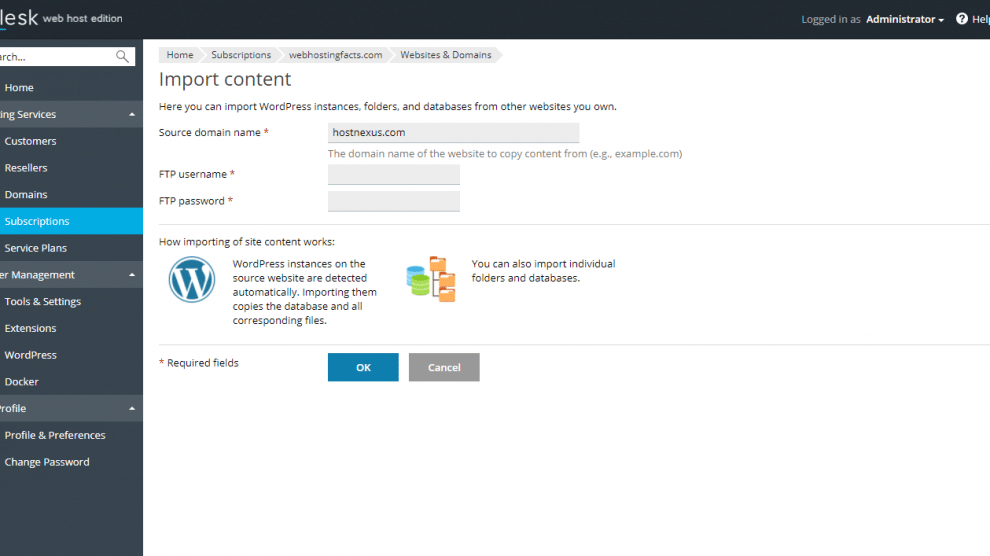
Migrating domains into your HostNexus account has never been easily. We will happily migrate your domains from Cpanel or Plesk hosts for free but you can also do this easily from within Plesk. Access the list of your WordPress instances by clicking on the “WordPress” icon on the right panel and go to “Import”. Input your FTP details and the Plesk Migrator will copy over files you specify. There are quite a few caveats to this feature and it may or may not work depending on the target server’s environment. If FTPS is enforced (like we do here at HN) this will not work. A lot will also depend on firewalls and file system security. If you can get it to you it’s a handy feature.
Security Auditing in WordPress Toolkit 2.0
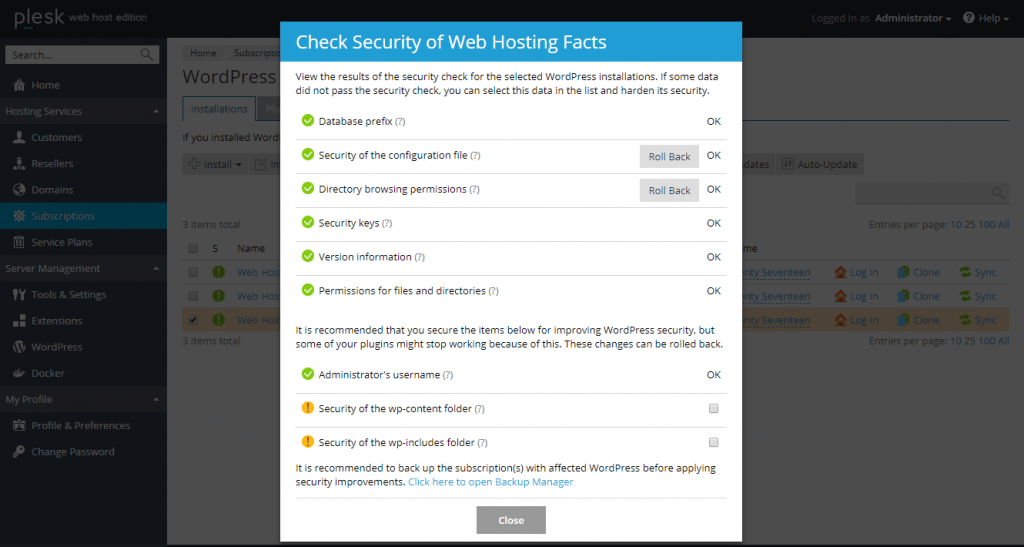
In The Plesk Toolkit you can also do a security audit of your WordPress environment and fix possible issues. It will check and fix permissions of files and folders, add extra security to wp-config.php, check your encryption keys, fix your database prefix and do other things to secure your WordPress environment.
Automatic Updates
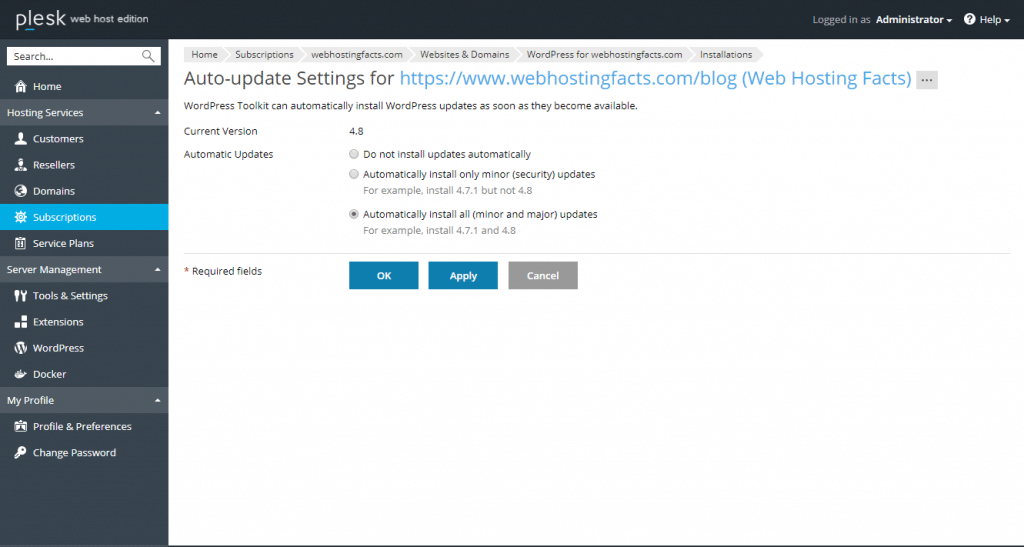
In WordPress Toolkit 2.0 the Automatic Update process has been refined. Keeping your WordPress instance up-to-date is absolutely vital for your website’s security. You can now choose Minor or Major updates or disable the automatic updates entirely.
WordPress Debug Management
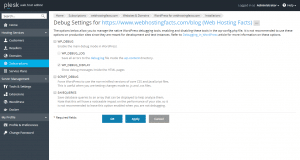
Once you have cloned your live site and have a working staging environment you can easily enable the WordPress debugging tools from within Plesk. These options allow you to enable and disable the debugging tools that are in wp.config.php:
WP_DEBUG– Enable the main debug mode in WordPress
– WP_DEBUG_LOG – Save all errors to the debug.log file inside the wp-content directory.
– WP_DEBUG_DISPLAY – Show debug messages inside the HTML pages
SCRIPT_DEBUG – Force WordPress to use the non-minified versions of core CSS and JavaScript files. This is useful when you are testing changes made to .js and .css files
SAVEQUERIES – Save database queries to an array that can be displayed to help analyze them. Note that this will have a noticeable impact on the performance of your site, so it is not recommended to leave this option enabled when you are not debugging.
 Password Protection
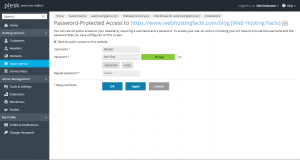
You can restrict public access to your staging site by requiring a username and a password. Once enabled, to access your site, all visitors (including you) will have to provide the username and the password that you have configured on this screen. This has always been possible within Plesk’s main website tools section but now you can do from within the WordPress Toolkit.
If you are developing a new site in a staging area or cloning your live site to staging you don’t want it indexed by search engine crawler bots. With one click you can disable the Site Indexing. This just adds noindex, nofollow tags to your blog’s header and also adds a Disallow directive to .htaccess. Using the WordPress Toolkit you can of course login directly to your WordPress Dashboard, change your password, access the File Manager and manage all your Plugins and Themes.
Finally, if you are a reseller or have your own VPS you can access all WordPress instances installed by your clients. So if you offer WordPress Management services you can manage everything from one appealing interface. Pretty neat.


This is awesome!
So glad I found you guys so many years ago.
With so many people complaining about their host, I just don’t know why they don’t switch to hostnexus.
Thanks Larry. Thanks for being a customer for all these years!